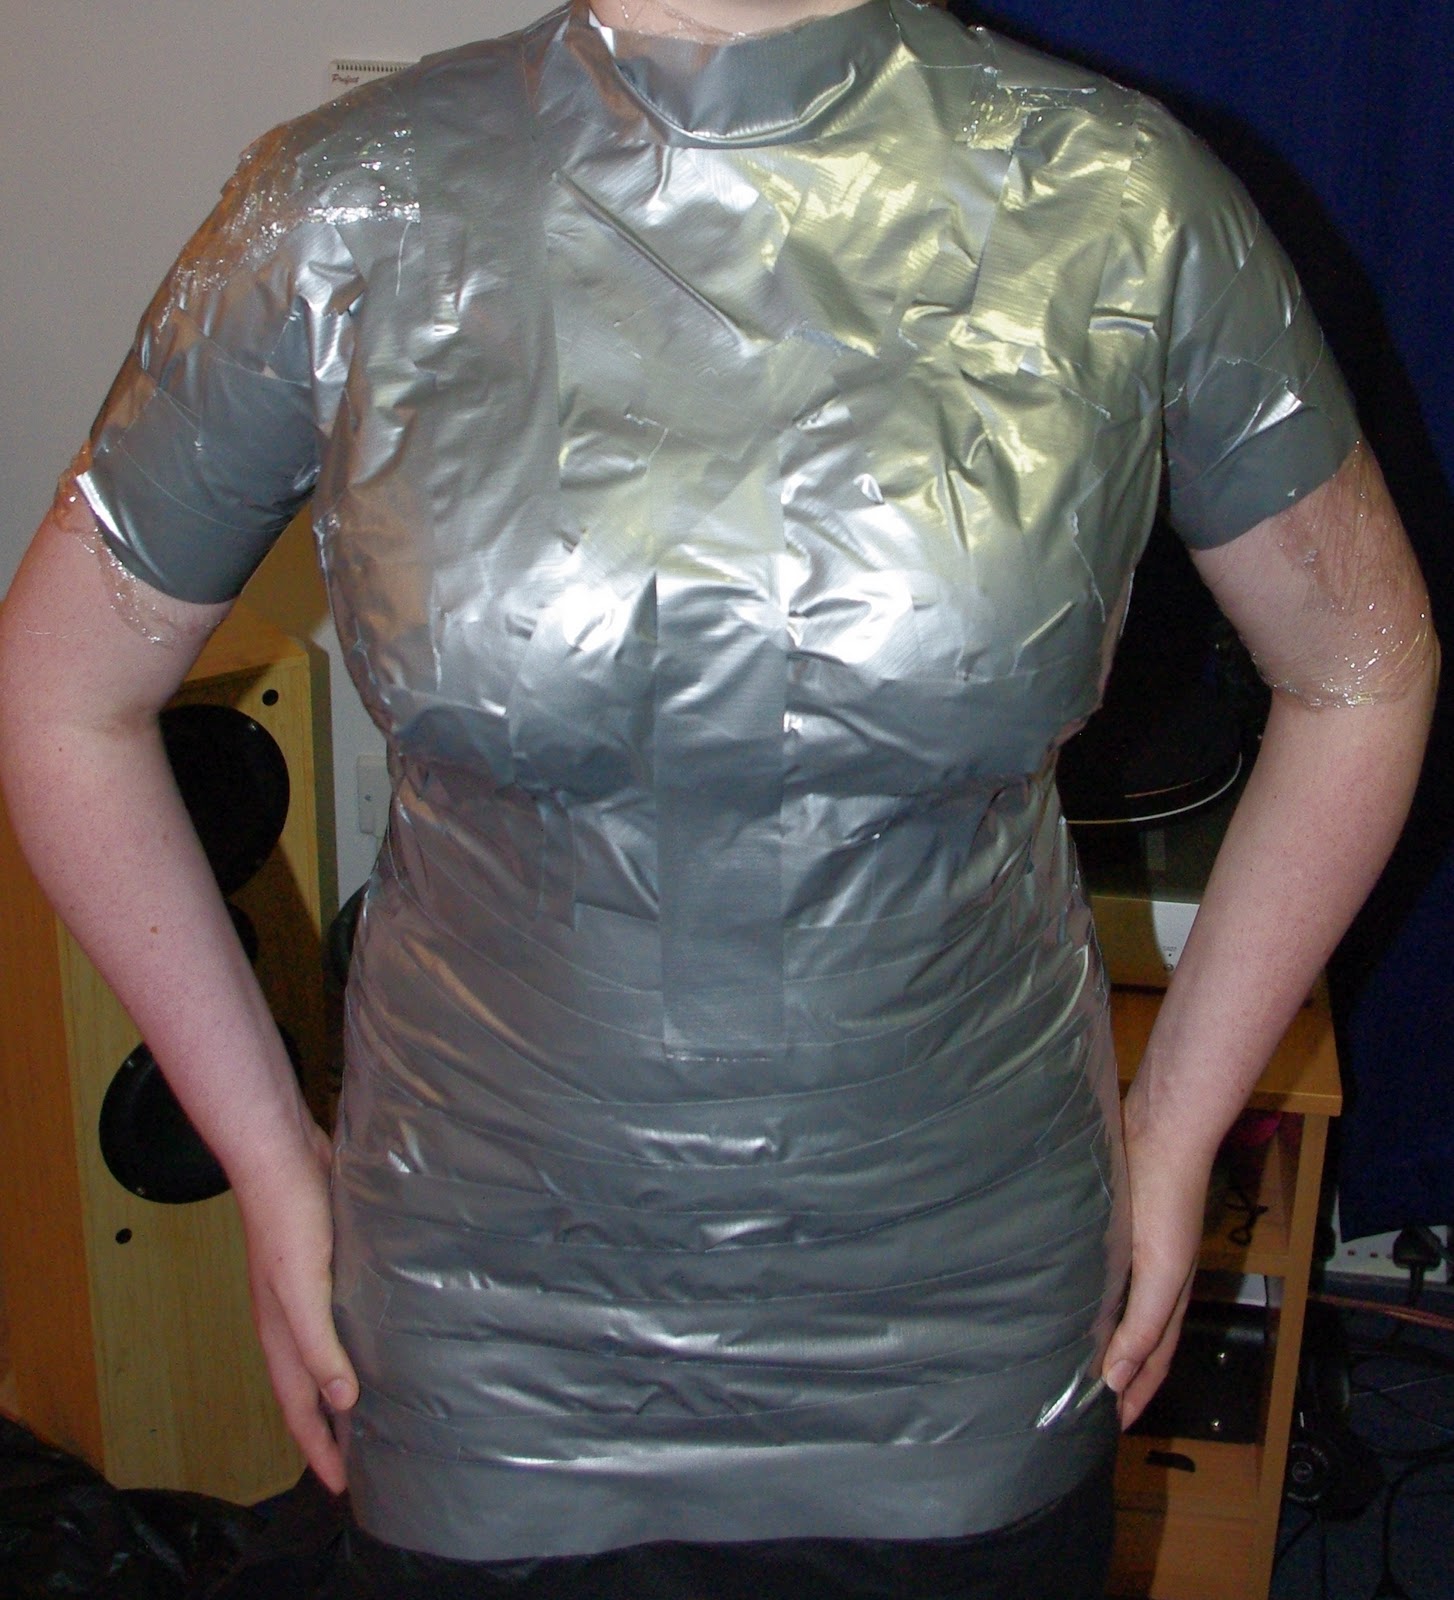
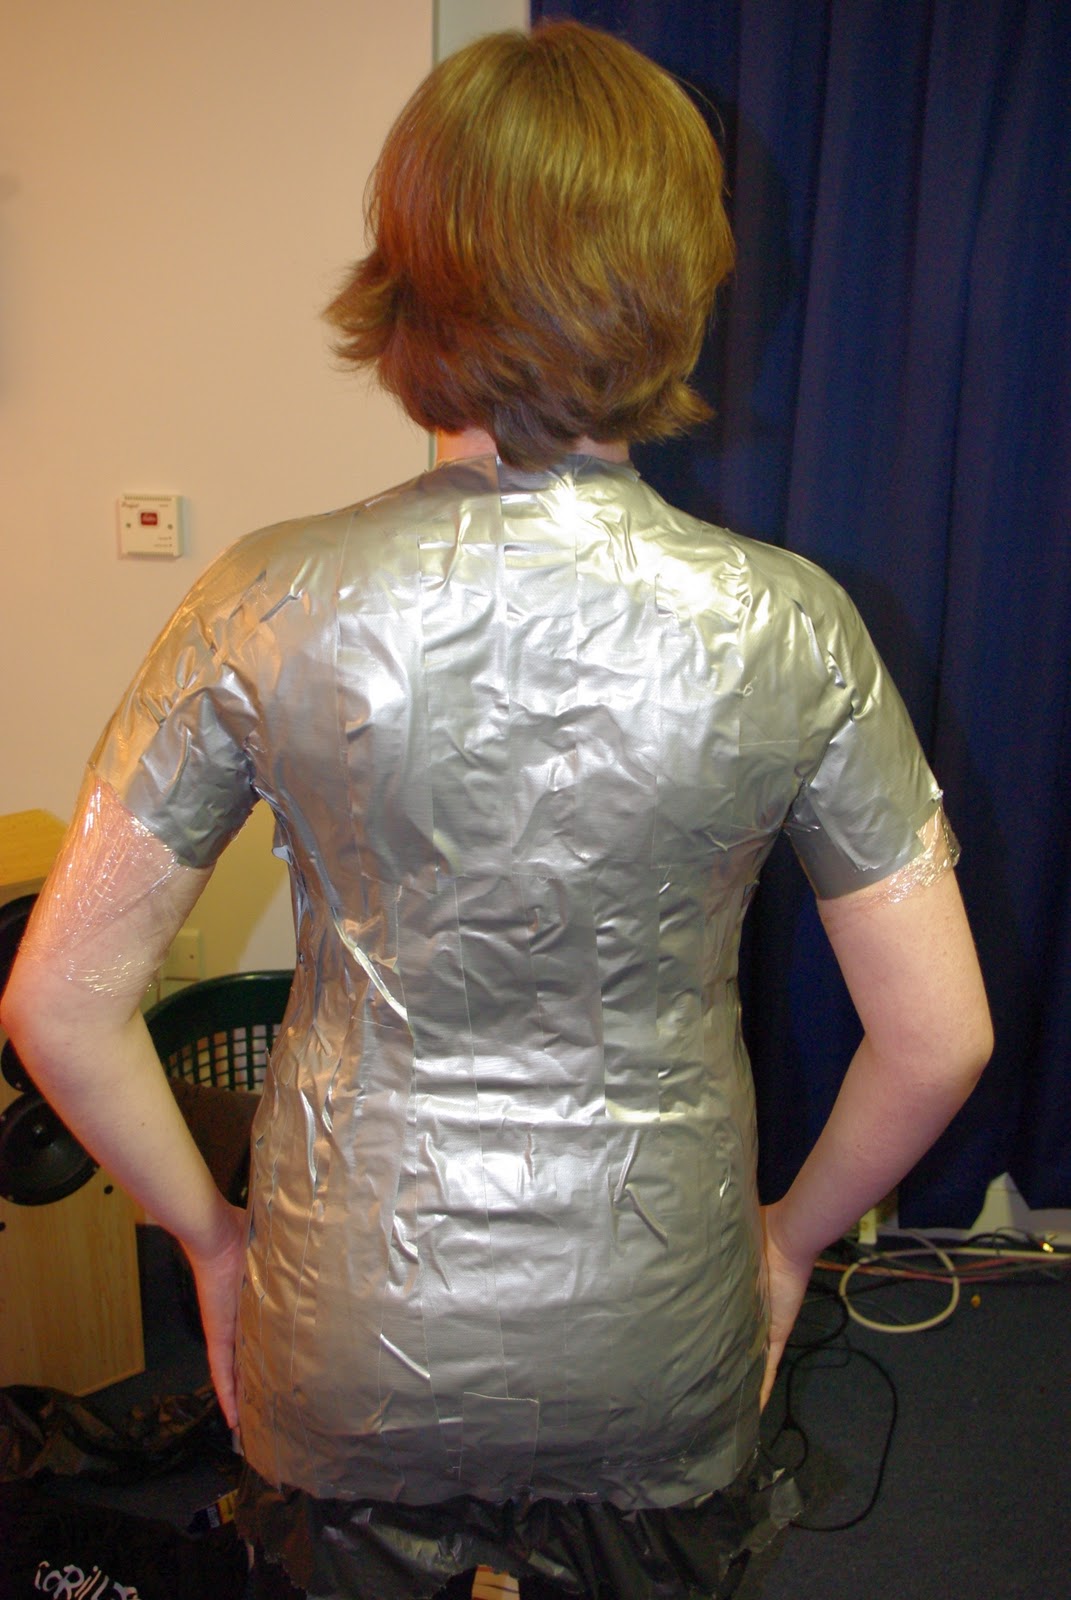
I made a duct tape dummy! I used about 3 rolls each with 50m on it, and I'm about a UK size 14. I used a bin bag to stick the tape to, as I've read in a few places that t-shirts can ride up because they're stretchy. I used cling film/wrap to do the top of my arms, and a little bit higher up my neck. I also made a cover from a large men's shirt. I got Dom to wrap me. Make sure you stand nice and straight! If you slouch, your dummy will slouch too. Open the windows, and if you have air-con, use it! You WILL get very hot. Why do you think I cropped my head off the photo's? I look awful because I'm so hot and sweaty! Make sure you wrap nice and tight, or your dummy will be too big.
Here's the pictures with a step-by-step explanation (go easy on me, this is my first attempt at a tutorial! If you have any questions, leave me a comment).
How to make your duct tape dummy
1) Shape the bust. To do this you need to start with a piece around your body just under the bust. Then with another piece, go between your breasts and over diagonally and over the shoulder. This piece should meet the piece that's around your body. A picture is probably the best way to explain:
2) Next you need to shape your shoulder blades! Do this with a piece of tape going from your shoulder diagonally across your back to meet the piece around your body.
3) Depending on how long you want your dummy to be, now would be the time to add some length if you want it. I cut up another bin bag and taped it around the bottom edge of the one I was already wearing. Sorry forgot to take a picture of this!
4) Next comes the bust. To do this you need to use smaller pieces of tape, depending on how big your bust is. I used about 5-6" pieces. Put one end of the tape over the middle of your breast and smooth it down outwards. You want to be making a star shape with the middle of the star in the middle of your breast. Repeat for the other side. When you've done both, add a piece down the centre of your breasts :) I hope you can see clearly on the picture (click it to make it bigger!)
5) Now you need to do your tummy! For this bit I recommend using pieces about 9-12" long. Overlap the tape by about half an inch. See the above picture for the front view :)
6) Next up is the top of your torso. For this bit, I put the tape on horizontally, Then added pieces that went over my shoulder like straps. See the next picture for this.
7) If you want to add length to the arms and up your neck, you'd better do it now! Use cling film to do this. Wrap it around the top of your arms pretty tight, but not so tight that your arm bulges out the end. Try to get it to overlap the tape on your shoulders, as this will make taping it onto the rest easier. Tape around the edges, then wrap all the way around your arm till you reach the desired length.
There is no easy way to do the neck. Use the same method as you did for your arms. Take your time, don't rush or you'll mess up. It won't be pretty, but the layers will sort this :)
And the back view:
8) Now that you've got the basic shape, you need to reinforce it so it'll keep its shape when stuffed. To do this add a layer of duct tape that goes vertically. Use pieces about 6-9" long.
And the back view:
9) You're almost done! To make it even stronger, add another layer of duct tape, this time horizontally. Now you need to mark your dummy. Any permanent marker will do. Mark you waist, bust, centre back, centre front etc.
And the back view:
10) Get out! I (Dom) cut in a zig-zag up the back. This made it easier to match up when taping back together. I also had to cut up the arms and shoulder to get my arms out without distorting it too much.
11) Tape up the back, reinforce it lots so it'll be able to stand stuffing. And of course if you had to cut the arms to get out, tape those up too.
12) Before going any further, measure your dummy. Check the measurements match your own. I forgot to this until I had stuffed up to the armpits! I had to unstuff to make it right!
So, if the measurements are significantly bigger than your own, you'll need to perform surgery on your dummy.
13)However, if you've done an excellent job and the dummy's measurements match your own, you can go ahead and stuff it. But first you need to give it a base. I used cardboard. Draw round the bottom of your dummy onto the cardboard, cut it out, insert into the bottom of your dummy and tape in place. Tape up the armholes. You can use practically anything to stuff it with. I used newspaper, leaflets, magazines, one of Dom's old shirts, all sorts. Be careful not to distort the shape, mine ended up with a funny pointy outy tummy, so I had to squeeze it back into shape.When your done stuffing, tape up the neck hole.
How to perform lipo-suction on your dummy
2) OK, now you need to draw a cutting line down the side of your dummy. Once you've done this, measure your specified amount away from this. In my example: at the waist I measured 1.5" away from my cutting line because this is how much I wanted to reduce it by. Do this for the hips and bust, and draw a line to connect them.
3) Cut up your cutting line. On the picture below, you can see where I've cut up my cutting line, and also where I've measured away from this at the waist and hips. (Remember you can click on a picture to make it bigger).
4) Here comes the lipo-suction! Take a small piece of duct tape, an inch or so long. Attach it to the flap that's on the left on the picture above, with half of the tape overhanging. With your hand on the inside supporting your dummy, pull it across until it matches your other line, where you measured. Press the tape down firmly. On the picture below you can see where I've taped the flap down matching the line I measured.
5) Do the same all up the sides until its completely taped up. Repeat on the other side. Reinforce the join thoroughly, or it'll pop open when stuffing. It'll look a little wrinkled and battered from being pulled and tugged, but don't worry it'll disappear when stuffed.
And the back view:
6) Re-measure just to make sure :) I also cut the arms shorter, as I found it difficult to get garments onto the dummy when they were longer.
7)Stuff! See above for how :)
Next I made a cover for my dummy. I decided to do this because I wanted a nicer finish, and also something to pin to so my pins didn't get sticky.
How to make a cover for your duct tape dummy
1) Get a men's shirt that is too big for you. Men's shirts are better than women's for this because they have relatively no shaping or darts. I got mine from a charity shop for a couple of pounds.
2) Cut the collar off. Cut the sleeves off. Cut up the side seams. Leave the shoulders intact.
3) Put the shirt on your dummy and button it up. I put it on right side out, so that when it was done, the buttons would be on the inside.
4) Pin the side seams back together, following your shape. Try to do it equally, so that the buttons follow the centre front line you drew.
5) Now you'll need to pin in some darts. To do this see where the fabric wants to naturally make a fold, where the excess naturally sits. Pin this to make a dart. Try to do this equally on both sides, repeat until you have no excess fabric.
And the back view:
6) You'll need to sew the darts first. To do this unpin the sides. Don't worry, once the darts are sewn, they'll be easy to pin again. Follow the pins until all the darts you pinned are sewn.
7) Put the shirt back onto your dummy again. re-pin the side seams. Sew them.
8) To put the sleeves in you'll need to cut up the seam on the sleeve. Pin into place. The sleeve will probably be too big for your armhole, don't worry, just let the edges overlap. Sew in place.
9) Once you've sewn both sleeves back in place, trim them to about 3 or 4". Put the shirt back on your dummy. Fold the sleeve neatly to hide all raw edges and to leave a nice neat arm. Pin in place as you go. Hand stitch in place. I was too impatient to slip stitch it, but it looks OK :)
10) Next you'll want to do the neck. To do this, I used what was left of one of the sleeves. Pin it on around the edges of the collar bit. Fold under raw edges as you go. Again, it'll probably be to big for the hole, but let it overlap.
11) Use the same technique as you did for the armholes. Fold and pin until its neatly in place, with no raw edges showing. Sew in place in the same as the armholes.
12) You're done! Congratulations on making your very own duct tape dummy, complete with cover!
And the back view:
I hope you found this helpful and enjoyable! And please link me to pictures of your own dummies, I'd love to see them!
Jellybean x